Pages

Showing posts with label SG2012. Show all posts

Thursday, November 29, 2012

Making Pretzels


We're nearing the end of spring and I still have a few Spring Goals that I need to work on. I've made a few breads so far, including a naan that got burnt and thrown out when I wasn't home, pizza, and cinnamon buns. I figured adding one more to the list would complete the goal, so as a fun activity with the boys, we made pretzels.

I made the dough before Nathan got home from school so that by the time he had finished all his "coming home from school" things, the dough would be ready to go.


As soon as the boys arrived in the kitchen, Caleb wanted to touch everything. He touched the mat, he touched the flour and he touched the dough. It's a good thing the boys washed their hands before all this. 


Caleb was so excited, he couldn't keep still and I couldn't get a picture without at least one the of the boys being blurry, so Nathan showed Caleb how to pause. 

Finally, we got a semi-decent picture of the boys waiting to get started. Caleb started getting antsy again so that was my cue to stop taking pictures and get going with this project.


First, I divided the dough into 12 pieces and gave the boys each a piece. The rest went back into the bowl to be covered so they wouldn't dry out. 


Poor Caleb, as soon as I handed him his piece, he was so happy he finally got his piece and he stuck it straight into his mouth. I guess I should have explained to him that it wasn't ready for eating yet. 


After explaining this to Caleb, we rolled out the dough into long ropes. Caleb's still learning how to do that so he ended up pushing his piece back and forth across the floured mat but  Nathan managed to get some nice long ropes.


Caleb was goofing off with his dough rope the whole time. As you can see, his older brother thought this was hilarious.

I showed them how to twist the rope into a pretzel shape.
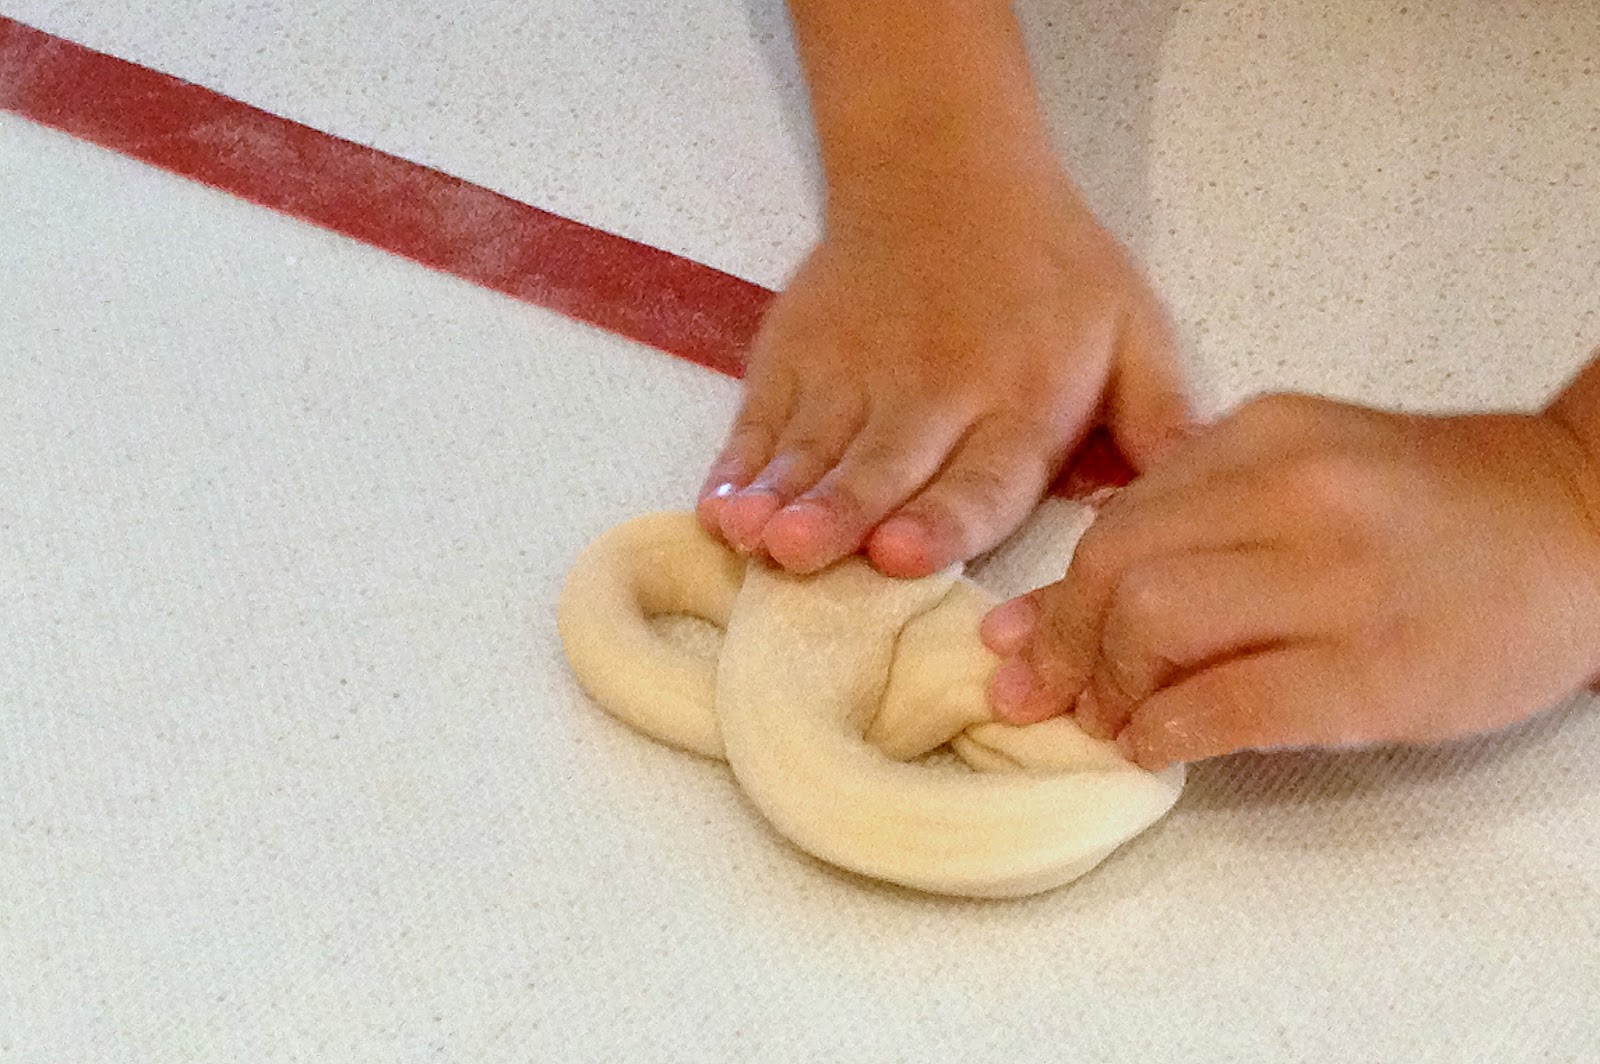


Nathan did really well for his first try. He gave that first one to his brother (who decided to copy the pretzel and cross his arms, I think) and helped his brother twist his.


Caleb had other shapes in mind. He scrunched up that rope like it was nobody's business.


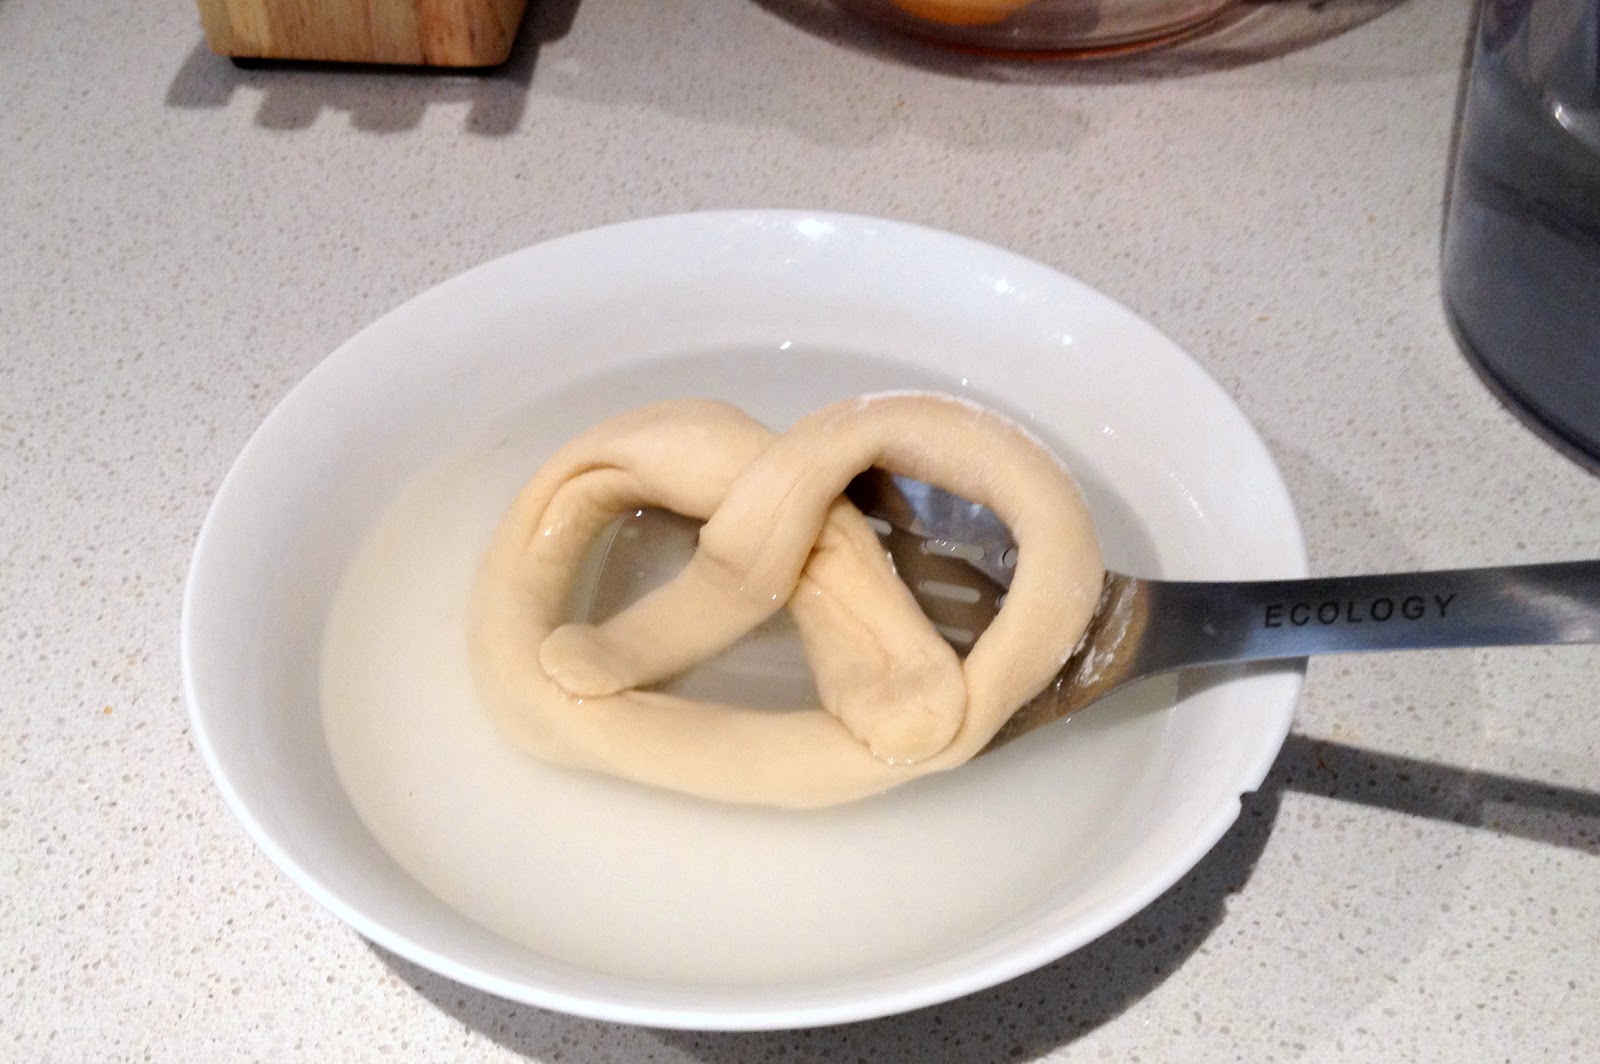
And here's the important part: dipping each pretzel into a solution of baking soda and water. Remember how I like to do a whole lot of research before I try out new recipes? Well, in my research, I learned that this part is essential for the pretzel achieving the browned outside. Without it, you'd have a pasty white pretzel and that's not appetizing at all.


Andrew joined in on the action and soon we had a couple pans filled with pretzels of all different shapes and sizes, ready to be baked. 


Eight minutes later, we pulled these babies out of the oven. Nice and golden. 


Instead of sprinkling salt over the pretzels, I left them plain. Afterwards, we brushed some melted butter on top and dipped them. 


Salt, or cinnamon sugar?


SOFT PRETZELS (from Allrecipes.com)

Ingredients
4 tsp active dry yeast
1 tsp white sugar
1 1/4 cups warm water 
5 cups all-purpose flour
1/2 cup white sugar
1 1/2 tsp salt
1 tbsp vegetable oil

1/2 cup baking soda
4 cups hot water
1/4 cup kosher salt, for topping

Directions
1. In a small bowl, dissolve yeast and 1 teaspoon sugar in warm water. Let stand until creamy, about 10 minutes.
2. In a large bowl, mix together flour, 1/2 cup sugar, and salt. Make a well in the centre, add oil and yeast mixture, and mix to form dough. If the mixture is dry, add one or two tablespoons of water. 
3. Kneed dough until smooth, about 7-8 minutes.
4. Lightly coat dough with oil and place in bowl. Cover with plastic wrap and let rise in a warm place until doubled in size, about 1 hour. 
5. Preheat oven 450F (230C). In a large bowl, dissolve baking soda in hot water.
6. When risen, turn dough onto a lightly floured surface and divide into 12 equal pieces. 
7. Roll each piece into a rope and twist into pretzel shape. Once all of the dough is shaped, dip each pretzel into the baking soda solution and place on a greased baking sheet. Sprinkle with kosher salt.
8. Bake in preheated oven for 8 minutes, until browned.

Notes
Make sure to grease your pan well, these pretzels will stick.
Instead of sprinkling with salt, I brushed the baked pretzels with butter and dipped (or sprinkled) salt or cinnamon sugar.

Wednesday, September 19, 2012

Pizza Night

I wanted to try making pizzas from scratch so we invited a couple of our friends over for a pizza night.

Instead of preparing large pizzas for everyone to share, I thought it'd be fun for each of us to make our own pizzas. That way, everyone gets what they want.

I made the dough ahead of time, and Andrew bought all the toppings.

Of course, when it comes to toppings, Andrew and I tend to get a little excited. This time around, we had chicken, ham, bacon, broccoli, pineapple, mushrooms, avocado, tomato, red onion, and zucchini. What can I say? We like having options. Lots of options.

We also had two sauces (tomato and alfredo) and a basil-infused olive oil.


Everyone pat down their own dough and loaded it up with the toppings of their choice.

I love having kids involved in the kitchen and I'm glad Nathan was so excited about making pizzas tonight. He chose lots of ham and pineapples and cheese. His "Hawaiian pizza from Hawaii-a".


Of course, Caleb wanted to be in on the action, too, so he climbed up on a chair as well and helped himself to some shredded cheese.

He was so cute tonight, stringing words together, like "more (cheese) please"!


And here's the final product. Well, one of them anyway. Andrew created this masterpiece.


I think we were all a little over-zealous with our toppings because after one pizza each, we were all pretty full.

Making pizzas turned out to be a lot faster and easier than I thought it would be. We'll definitely be doing this again soon.

Monday, September 17, 2012

Cinnamon Rolls

The idea for Spring Goals #1 (bake some bread) came to me when I was reorganizing my pantry and realized that I have 24 packets of yeast that have to be used up before they expire. I have a few bread ideas in mind and the first on the list is cinnamon rolls.

I used Pioneer Woman's cinnamon rolls recipe this time around.

The last couple times I used yeast, I was disappointed to find that my dough didn't rise very well so I was a little reluctant to try it again. But the expiry date is approaching and I either had to make the breads now, or let the yeast go to waste. 

I decided to suck it up and make the bread.

I mixed the dough and set it aside to let the dough rise while I put Caleb to bed. Caleb decided to take much longer than the 1 hour specified by the instructions, to fall asleep. When I got back, I found the dough had overflowed over the sides of my pot. I couldn't decide whether to be overjoyed that the dough actually rose, or to be annoyed that I had a huge mess to clean up, not to mention I lost some dough.

I decided to be happy with a successfully proved dough and used that to motivate me to finish making the cinnamon buns. Did I mention that it was 11pm when I finally got back into the kitchen?

I rolled the dough out (so glad for large counter top space) and a rolling pin.


Spread on the butter.


And the sugar.


And the cinnamon.


I'd like to add that in the interest of eating healthier *ahem*, I reduced the amount of butter, sugar and cinnamon in my version of the cinnamon rolls.

Then I carefully rolled the dough up and cut them into slices.


I placed them in the pan to rise again, as per the instructions. I was pessimistic that it would rise again because I had left the dough for so long and also because it didn't rise last time. But it did rise and by now I was clapping for joy (inside my head of course, because I would have looked like a crazy person clapping to myself).


I popped them in the oven and made some cream cheese frosting to drizzle on top. (Cream cheese frosting is my favourite!)

Then I had myself a midnight snack, because by then, it really was midnight.


And for those of you who are reluctant to use yeast like I was, here's something I learned about using yeast: too much heat kills the yeast! 

In all this time of baking and cooking, I've had it in my head that yeast needs boiling water to work. It turns out, all you need is room temperature, or warm water. So fear not, my friends. Go ahead and use the yeast; make some cinnamon buns and enjoy.

Thursday, September 13, 2012

Mini Herb Garden

I'm so excited to share our mini herb garden with you so far. 

At the beginning of August, I had found some herb plants in the grocery store. I sent Andrew to choose a few for our garden but somehow we left empty-handed and I didn't see any of the herbs I wanted again for the next few weeks.

I had put my herb garden to the back of my mind, but this past Sunday, a friend gifted a couple mint plants to me. When I went to replant it, I found that it had a very sparse root system so I'm not sure how long/if it will survive but we'll keep it for as long as we can.

Then, when I went grocery shopping on Monday, I found some basil plants! I texted Andrew right away and informed him that I was buying two. When I replanted them, I found that I couldn't really because the roots were growing through the bottom of the little container and if I pulled the plants out, it would rip out all the roots! And there were lots of roots. 

So as silly as it may sound, right now they're planted in the soil, inside those plastic containers. Andrew laughed at me but I didn't know what else to do! 


There's one more herb that I want to grow and it's rosemary. We've been using it a lot this year, in our pot roasts and my rosemary and honey chicken so I thought it'd be nice to plant our own so I don't have to keep buying it. However, it's been quite difficult locating a rosemary plant so for now, that last space in this planter remains empty but I'm hoping to add our final herb to it soon.


LinkWithin

Related Posts Plugin for WordPress, Blogger...